A Jack-of- all-trades is also a huge part of being a mom. Getting sucked into the idea that we have to do it all can be a slippery slope, because usually we're doing it all. Baking cookies with sprinkles, decorating ornate cupcakes, throwing a themed party, mending a tear in their favorite shirt is only scratching the surface of the job description for being a mom. Lucky for me I've always been crafty, which has saved our family tons of money. Having five children makes me always searching for a good deal and a cheaper way. However this time I didn't end up saving much money, but am able to personalize my daughter's prom corsage and boutonniere. (Next time around I'll have everything and will actually be saving money.)
Pausing for a moment from the writing as I demonstrate the step by step process of making corsages.

Step 1:
Get all the Stuff!
Floral wire, Floral tape, ribbon, wrislet, floral spays, tin snips, wire cutters, and flowers. (Corsage box & crinkled paper.)

Step 2:
Start making all the fillers.
I spray painted the beads black.
Wrapped a few flowers and ribbons with wire and floral tape.
Wrapping the flowers or ribbons with wire gives them the ability to be flexible and stand upright. The floral tape hides the wire and also will stick to it's self as it stretches.

Step 3:
Tape some together.
I test out different accents together until I get the exact look I'm wanting. When I have them picked out I start wrapping the floral tape around the the two stems until they're completely covered. Cutting the end. Make sure there's an extra long stem. Cutting it shorter later if needed.

Another option for the filler. Considering that black roses cost around a hundred a dozen. I opted to use black silk flowers to be mixed in with the fresh mini white roses and mini carnations.

Step 4:
Make the bows.
I still struggle with these. My best advice, go to YouTube. Type in How to make a corsage bow. There are professionals that can explain it much better than I can even attempt to do. I constantly remind myself that the bows don't need to be perfect. I make 3-4 and pick the best one to go on top. the others get hidden behind flowers.

Step 5:
Start wrapping the fresh flowers.
I'm use mini white carnations, white roses, and daises. The carnations and daises where placed in blue water for a few days, giving it a striped effect.

First, I wrapped each flower with wire.

Then, I wrapped the wire with floral tape, covering the wire. This step gets repeated so much that by the end you feel like a pro.

Step 6:
Start clustering.Taking the leaves, flowers, baby's breath, and accents. There's a little bit of playing with the design. I used floral spray on the baby's breath for a light mist of color.

Play...

Play...
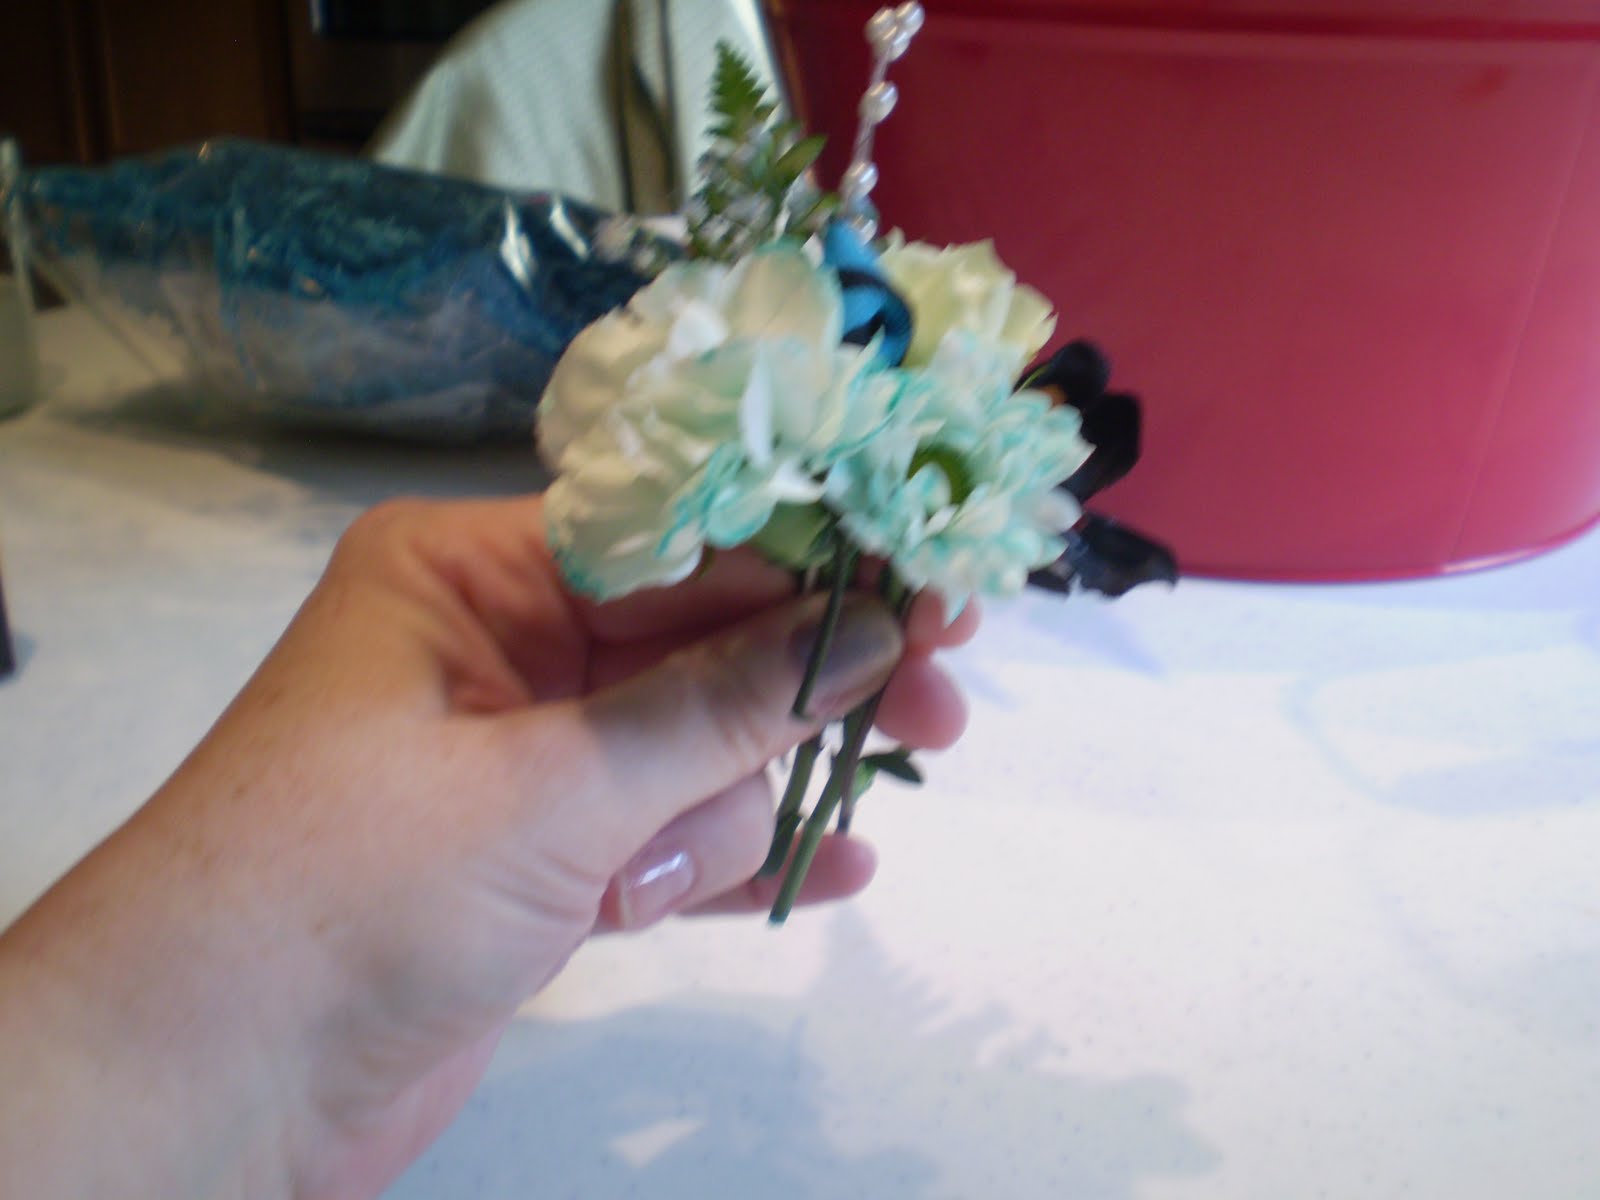
Play, until...

it's Perfect!
Wrapping all of them together with floral tape.

Step 7:
Add a Bow or two.

Step 8:
Attaching it to the wrist band.This was tricky for me, but it was fairly simple. Unwind the ribbon and wrap it tightly around the base of the flowers. (Tie it with a knot.) The metal arms can be folded over around the flowers for extra strength.

Finished Product:
They both turned out beautiful. This project was lots of fun for me. It was a way for me to feel connected to my daughter at the same time feeling the gratitude I have for my mother teaching me.
No comments:
Post a Comment